Quick Answer
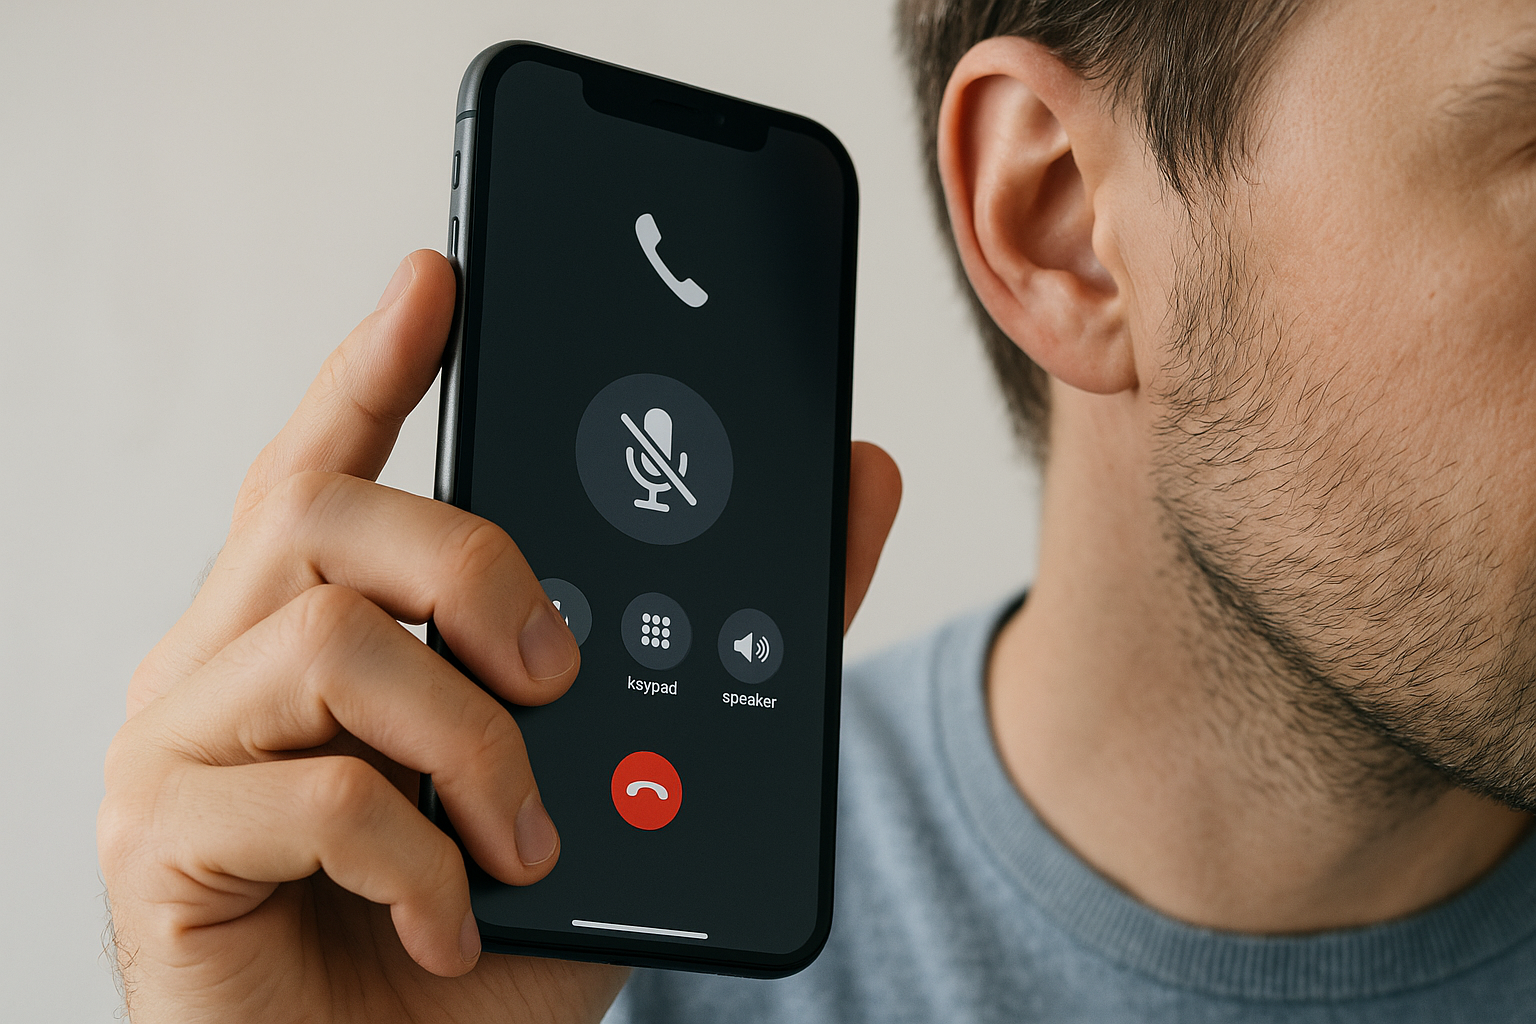
Your iPhone microphone may not work during calls due to software glitches, blocked microphone openings, protective case interference, iOS bugs, or app-specific permission issues. The problem typically stems from dirt accumulation in the microphone ports, outdated iOS versions, or settings that mute audio input. Most issues can be resolved through basic troubleshooting like cleaning the microphone, restarting your device, updating iOS, or adjusting audio settings.
Common Causes of iPhone Microphone Problems During Calls
Understanding why your iPhone microphone fails during calls requires examining both hardware and software factors. The iPhone uses multiple microphones positioned at different locations on the device, and problems can arise from physical obstructions, system settings, or software conflicts. When someone can’t hear you during a phone call, FaceTime, or other voice applications, the root cause typically falls into one of several categories.
Physical obstructions represent one of the most frequent culprits. Your iPhone contains three microphones: one at the bottom near the charging port, one on the back near the camera, and one at the front near the earpiece. These small openings easily collect lint, dust, and debris from pockets, bags, and everyday use. Even a thin layer of grime can significantly reduce microphone sensitivity or completely block sound transmission.
Software issues also play a major role in microphone malfunctions. iOS updates occasionally introduce bugs that affect audio functionality, while corrupted app data can interfere with microphone access. Additionally, iOS manages microphone permissions on an app-by-app basis, meaning specific applications might lose access even when the hardware functions perfectly.
Step-by-Step Troubleshooting Methods
Check for Physical Obstructions
Begin your troubleshooting by examining all microphone openings on your iPhone. Remove any protective case or screen protector, as some accessories inadvertently cover or muffle the microphone ports. Look closely at the bottom of your iPhone near the charging port, where the primary microphone sits alongside the speaker grille. Use a flashlight to inspect for visible debris.
If you spot dust or lint, gently clean the area using a soft-bristled brush, like a clean toothbrush or an anti-static brush designed for electronics. Avoid inserting sharp objects or toothpicks that could damage the delicate microphone mesh. Compressed air can help dislodge stubborn particles, but use short, controlled bursts from a distance to prevent moisture damage. For the rear and front microphones, apply the same careful cleaning approach.
Restart Your iPhone
A simple restart resolves many temporary software glitches that affect microphone performance. This process clears the device’s memory, closes background processes, and resets audio drivers without affecting your data or settings. For iPhone 8 and later models, press and quickly release the volume up button, press and quickly release the volume down button, then press and hold the side button until the Apple logo appears. For iPhone 7 and 7 Plus, press and hold both the volume down and side buttons simultaneously. For earlier models, press and hold the home and top buttons together.
Test Different Audio Scenarios
Determining whether the problem affects all applications or just phone calls helps narrow down the cause. Open the Voice Memos app and record a short message, then play it back to check if the microphone captures audio properly. Next, make a call using FaceTime Audio or a third-party app like WhatsApp to see if the issue persists across different platforms. If the microphone works in Voice Memos but fails during regular phone calls, the problem likely relates to carrier settings or call-specific audio configurations rather than hardware damage.
Update iOS to the Latest Version
Apple regularly releases iOS updates that fix known bugs, including audio-related issues. Navigate to Settings, select General, then tap Software Update. If an update is available, download and install it while your iPhone is connected to Wi-Fi and has sufficient battery life. After updating, test your microphone again during a call. Many users find that microphone problems disappear after applying the latest iOS patches.
Review and Adjust Audio Settings
Several settings within iOS can affect microphone behavior during calls. Check that you haven’t accidentally enabled call audio routing to a disconnected Bluetooth device. Open Settings, tap Bluetooth, and review connected devices. Disconnect or forget any devices you’re not actively using. Also examine the Phone Noise Cancellation feature by going to Settings, selecting Accessibility, then Audio/Visual. Toggle Phone Noise Cancellation off and test your calls, as this feature sometimes causes more problems than it solves on certain iPhone models.
Reset Network and Settings
When basic troubleshooting fails, resetting specific settings can eliminate configuration issues without erasing your personal data. Go to Settings, select General, choose Transfer or Reset iPhone, then tap Reset and select Reset Network Settings. This action clears Wi-Fi passwords, VPN configurations, and cellular settings, so be prepared to re-enter this information. After the reset completes and your iPhone restarts, test the microphone during a call. If network reset doesn’t help, consider Reset All Settings, which returns every system preference to factory defaults while preserving your photos, messages, and apps.
Advanced Solutions for Persistent Problems
If standard troubleshooting doesn’t restore microphone functionality, more involved solutions become necessary. Check whether your iPhone has water damage indicators triggered, as liquid exposure can cause delayed microphone failure even if the device initially seemed fine. The Liquid Contact Indicator on most iPhone models is visible in the SIM card tray slot and turns red when exposed to moisture. Water damage typically requires professional repair or device replacement.
For software-related issues that resist conventional fixes, backing up your iPhone through iCloud or a computer, then performing a complete factory reset often provides resolution. Before taking this step, ensure all important data is safely backed up. Navigate to Settings, select General, choose Transfer or Reset iPhone, then tap Erase All Content and Settings. After the reset completes, set up your iPhone as new rather than restoring from backup initially. Test the microphone in this clean state. If it works, the problem originated from corrupted data or settings in your backup.
Hardware defects also cause microphone failures, particularly in older iPhones or devices that have experienced drops or impacts. The microphone components themselves can detach from the logic board, suffer solder joint failures, or develop electrical shorts. These issues require professional diagnosis and repair. If your iPhone remains under warranty or you have AppleCare+, contact Apple Support to arrange a service appointment. Third-party repair shops can also address hardware problems, though using unauthorized service may affect your warranty status.
Preventing Future Microphone Issues
Regular maintenance helps prevent microphone problems before they disrupt your calls. Clean your iPhone’s microphone ports monthly using a soft brush to remove accumulated debris. Choose protective cases that don’t block or cover the microphone openings, and inspect new cases carefully before extended use. When selecting screen protectors, ensure they don’t extend over the earpiece microphone at the top of your device.
Keep your iOS updated with the latest releases, as Apple continuously improves audio processing and fixes bugs that affect microphone performance. Enable automatic updates in Settings under General and Software Update to ensure you receive patches as soon as they become available. Additionally, pay attention to app permissions by reviewing Settings and scrolling down to individual apps. Verify that phone and communication apps have microphone access enabled, as iOS sometimes revokes these permissions after major updates.
Avoid exposing your iPhone to moisture, extreme temperatures, or dusty environments whenever possible. While modern iPhones feature water resistance, this protection degrades over time and doesn’t cover all types of liquid exposure. If your iPhone does get wet, turn it off immediately and allow it to dry completely in a well-ventilated area for at least 24 hours before attempting to use it again.
Frequently Asked Questions
Why can people hear me on speakerphone but not during regular calls?
This issue typically indicates a problem with the bottom microphone near your charging port, while the rear microphone (used during speakerphone and video recording) functions normally. The bottom microphone handles standard voice calls, so when it’s blocked by debris or damaged, switching to speakerphone routes audio through the working rear microphone. Clean the bottom microphone opening thoroughly, and if the problem persists, the microphone component may require professional replacement.
Can a software update cause my iPhone microphone to stop working?
Yes, iOS updates occasionally introduce bugs that affect microphone functionality, though Apple typically addresses these issues quickly in subsequent patches. If your microphone stopped working immediately after an update, check for a newer iOS version that might contain a fix. You can also report the problem to Apple through the Feedback app or their support channels to help them identify and resolve the bug faster.
How do I know if my microphone problem is hardware or software related?
Test your microphone across multiple scenarios: record a Voice Memo, make a regular phone call, try FaceTime Audio, and use Siri. If the microphone fails in all applications, hardware damage is more likely. If it works in some apps but not others, software issues or app-specific permissions are probably responsible. Additionally, if cleaning and restarting don’t help, hardware problems become more probable.
Will resetting my iPhone delete my photos and messages?
Reset All Settings returns system preferences to defaults without erasing personal data like photos, messages, or apps. However, Erase All Content and Settings performs a complete factory reset that deletes everything. Always back up your iPhone to iCloud or a computer before performing any reset. You can verify your backup is current by checking Settings, tapping your name, then selecting iCloud and reviewing the backup date.
Why does my microphone work with headphones but not the built-in one?
When headphones are connected, your iPhone routes audio input through the headphone microphone instead of the built-in ones. This behavior confirms that iOS can process microphone input, pointing to a hardware issue with the iPhone’s internal microphones. Check all built-in microphone ports for blockages, and if cleaning doesn’t help, the microphone components likely need professional repair or replacement.
Can third-party apps interfere with my microphone during phone calls?
Certain apps that access the microphone can create conflicts, particularly if they don’t properly release microphone control when you switch to another app. Apps running in the background rarely cause this issue with phone calls specifically, but force-closing all apps by swiping up from the bottom of your screen (or double-clicking the home button) can eliminate potential conflicts. If you notice the problem started after installing a specific app, try uninstalling it temporarily to test whether it’s causing interference.
How much does professional iPhone microphone repair typically cost?
Microphone repair costs vary based on your iPhone model and whether you have warranty coverage. AppleCare+ often covers microphone defects at no cost if the damage isn’t accidental. Without coverage, authorized Apple repairs typically range from $99 to $329 depending on the model and extent of damage. Third-party repair shops may charge less, usually between $50 and $150, but ensure they use quality parts and offer warranties on their work. Always compare prices and read reviews before selecting a repair provider.